Our market is currently flooded with cheap, toxic products made by factories that poison the earth and the (often underage) people working in them. Purchasing from small, U.S. artisans is a simple way to remove ourselves from that vicious cycle.
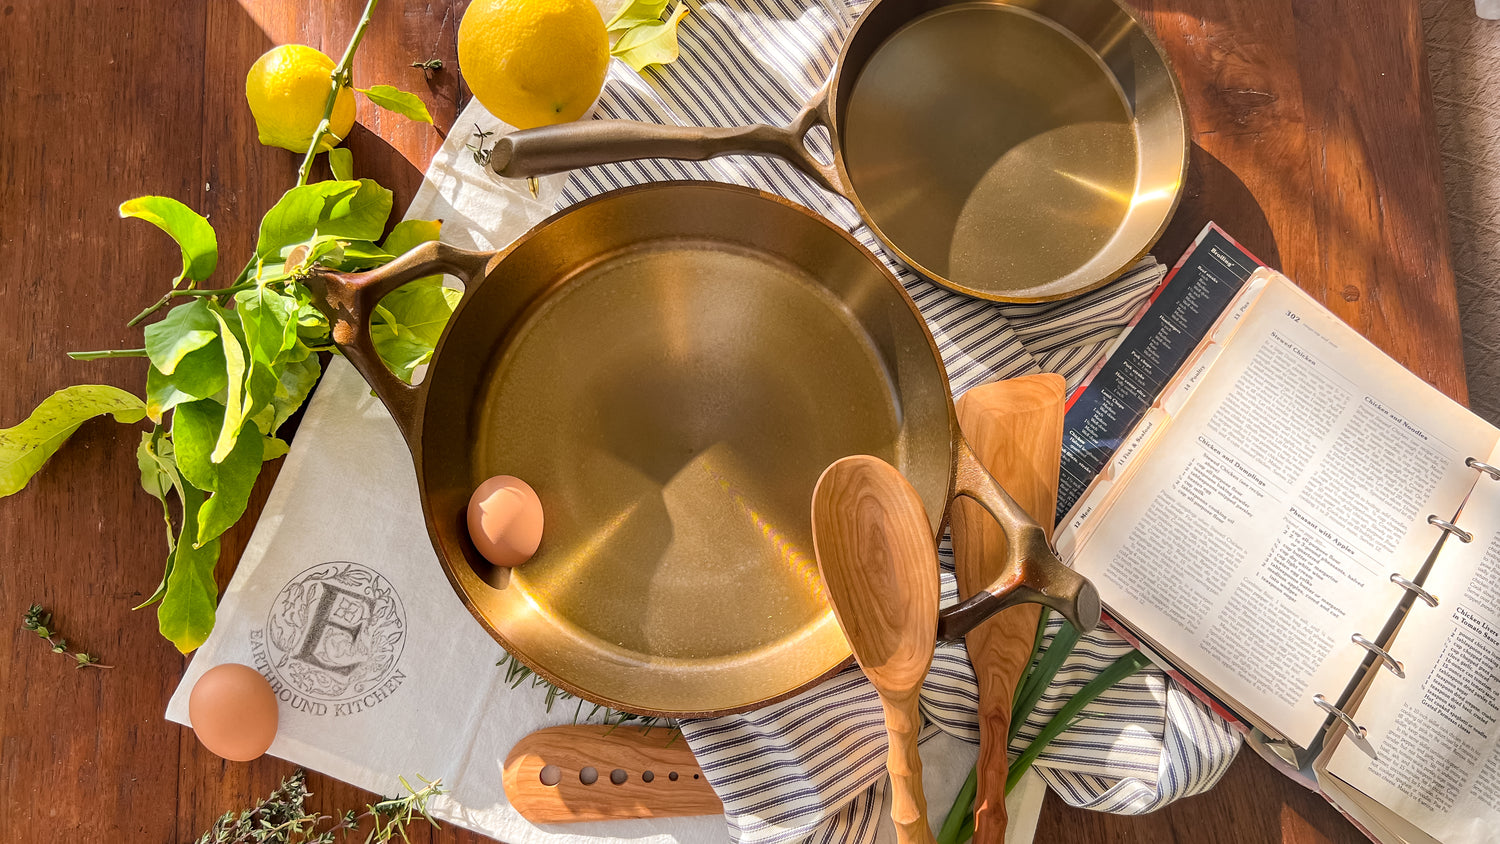
Non-Toxic
Your kitchen tools shouldn't make you sick.
A simple rule thats good for humans and the earth. That's why Earthbound products are always made from tried and true materials. Our ancestors knew what they were doing.
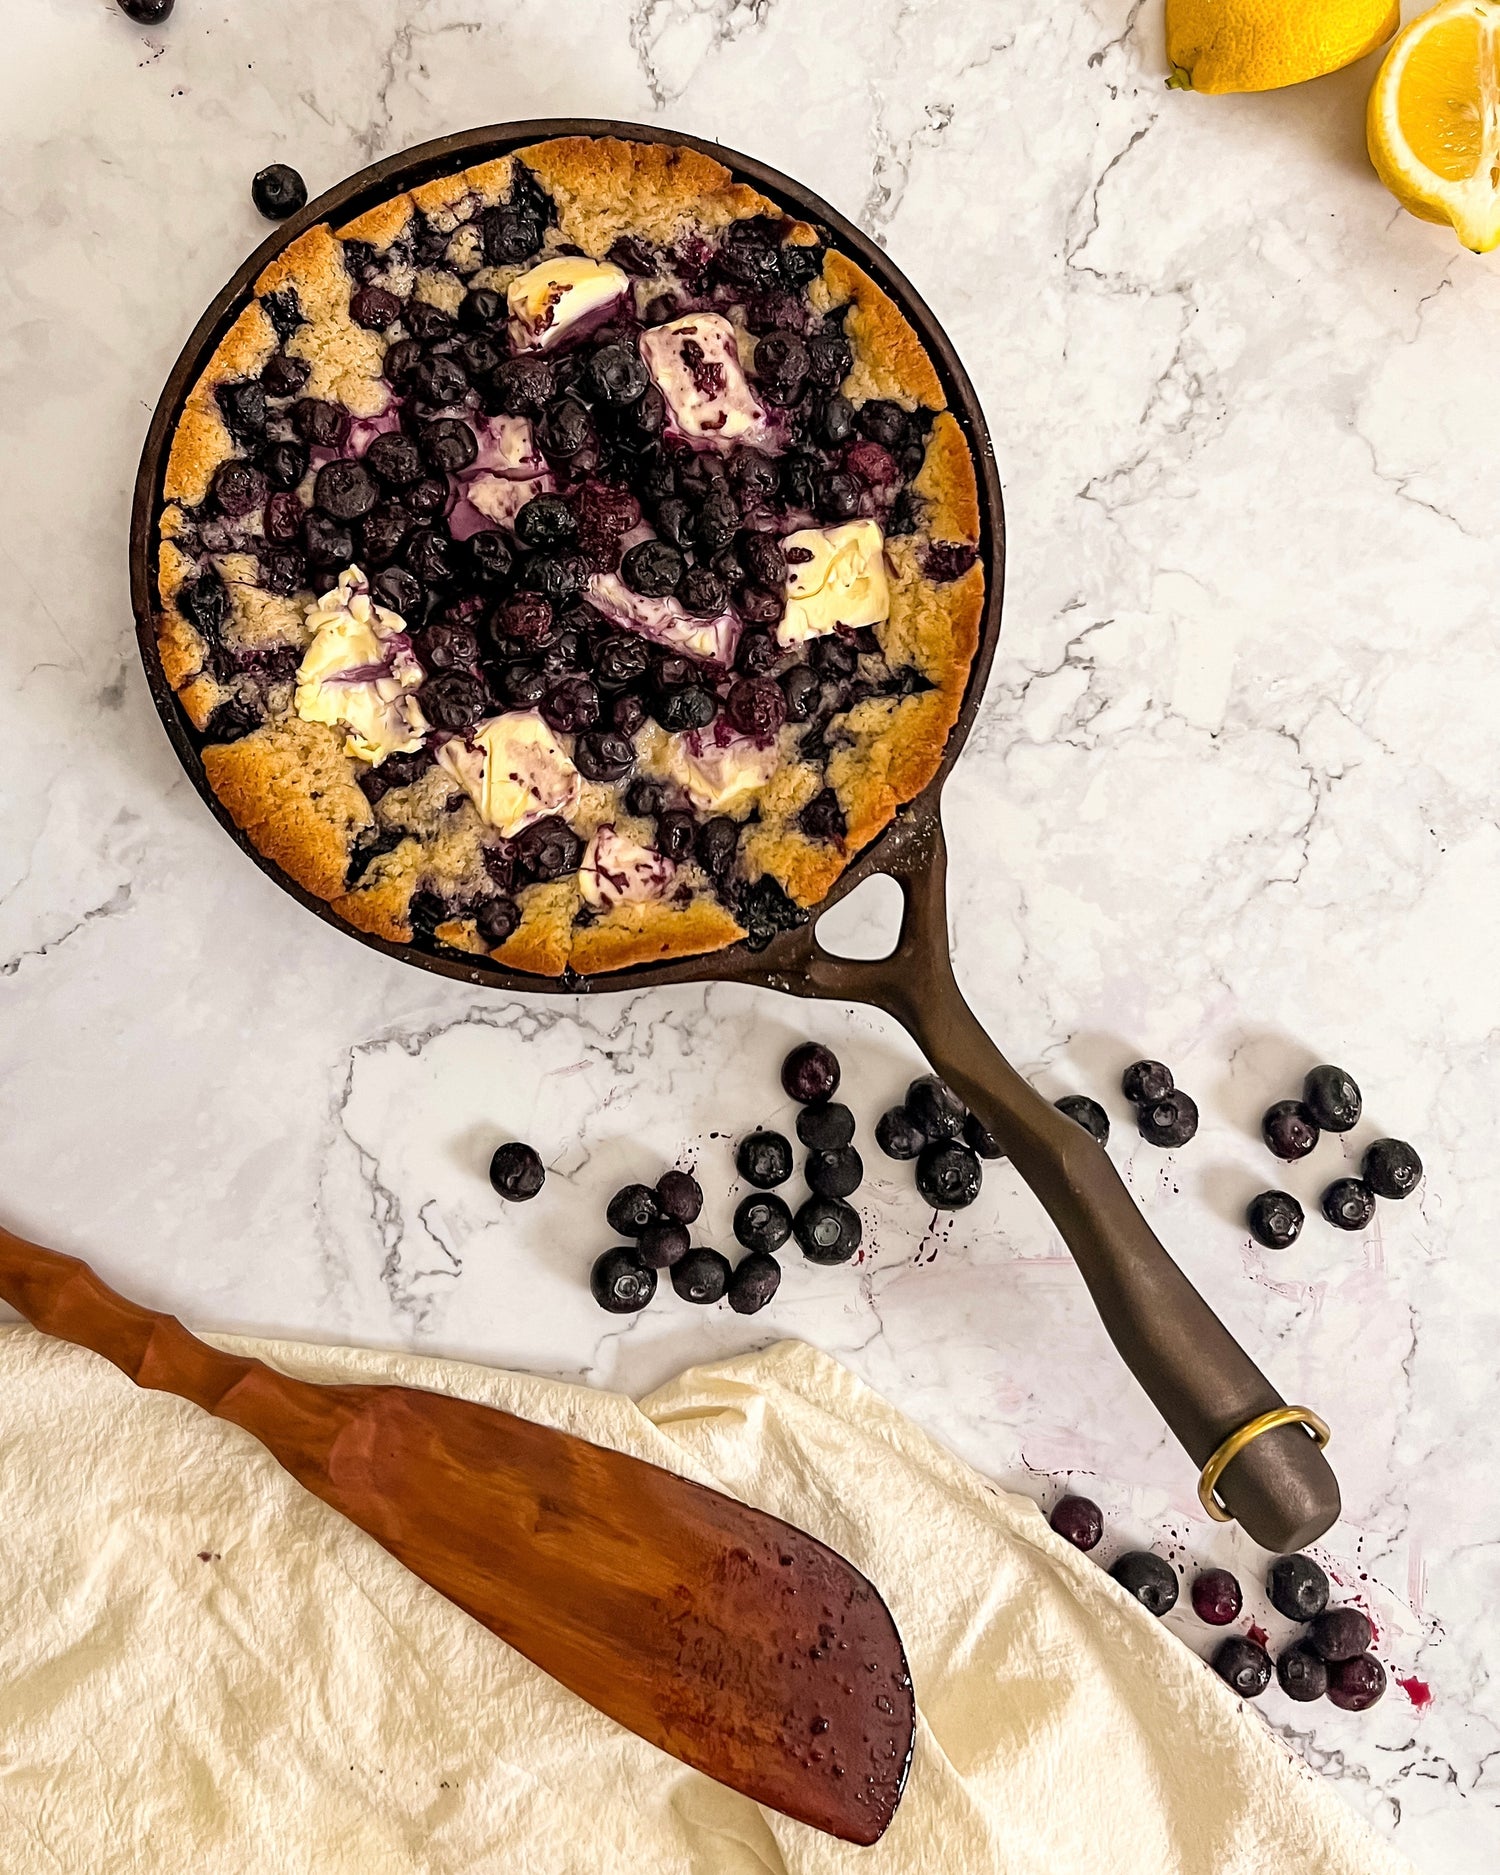
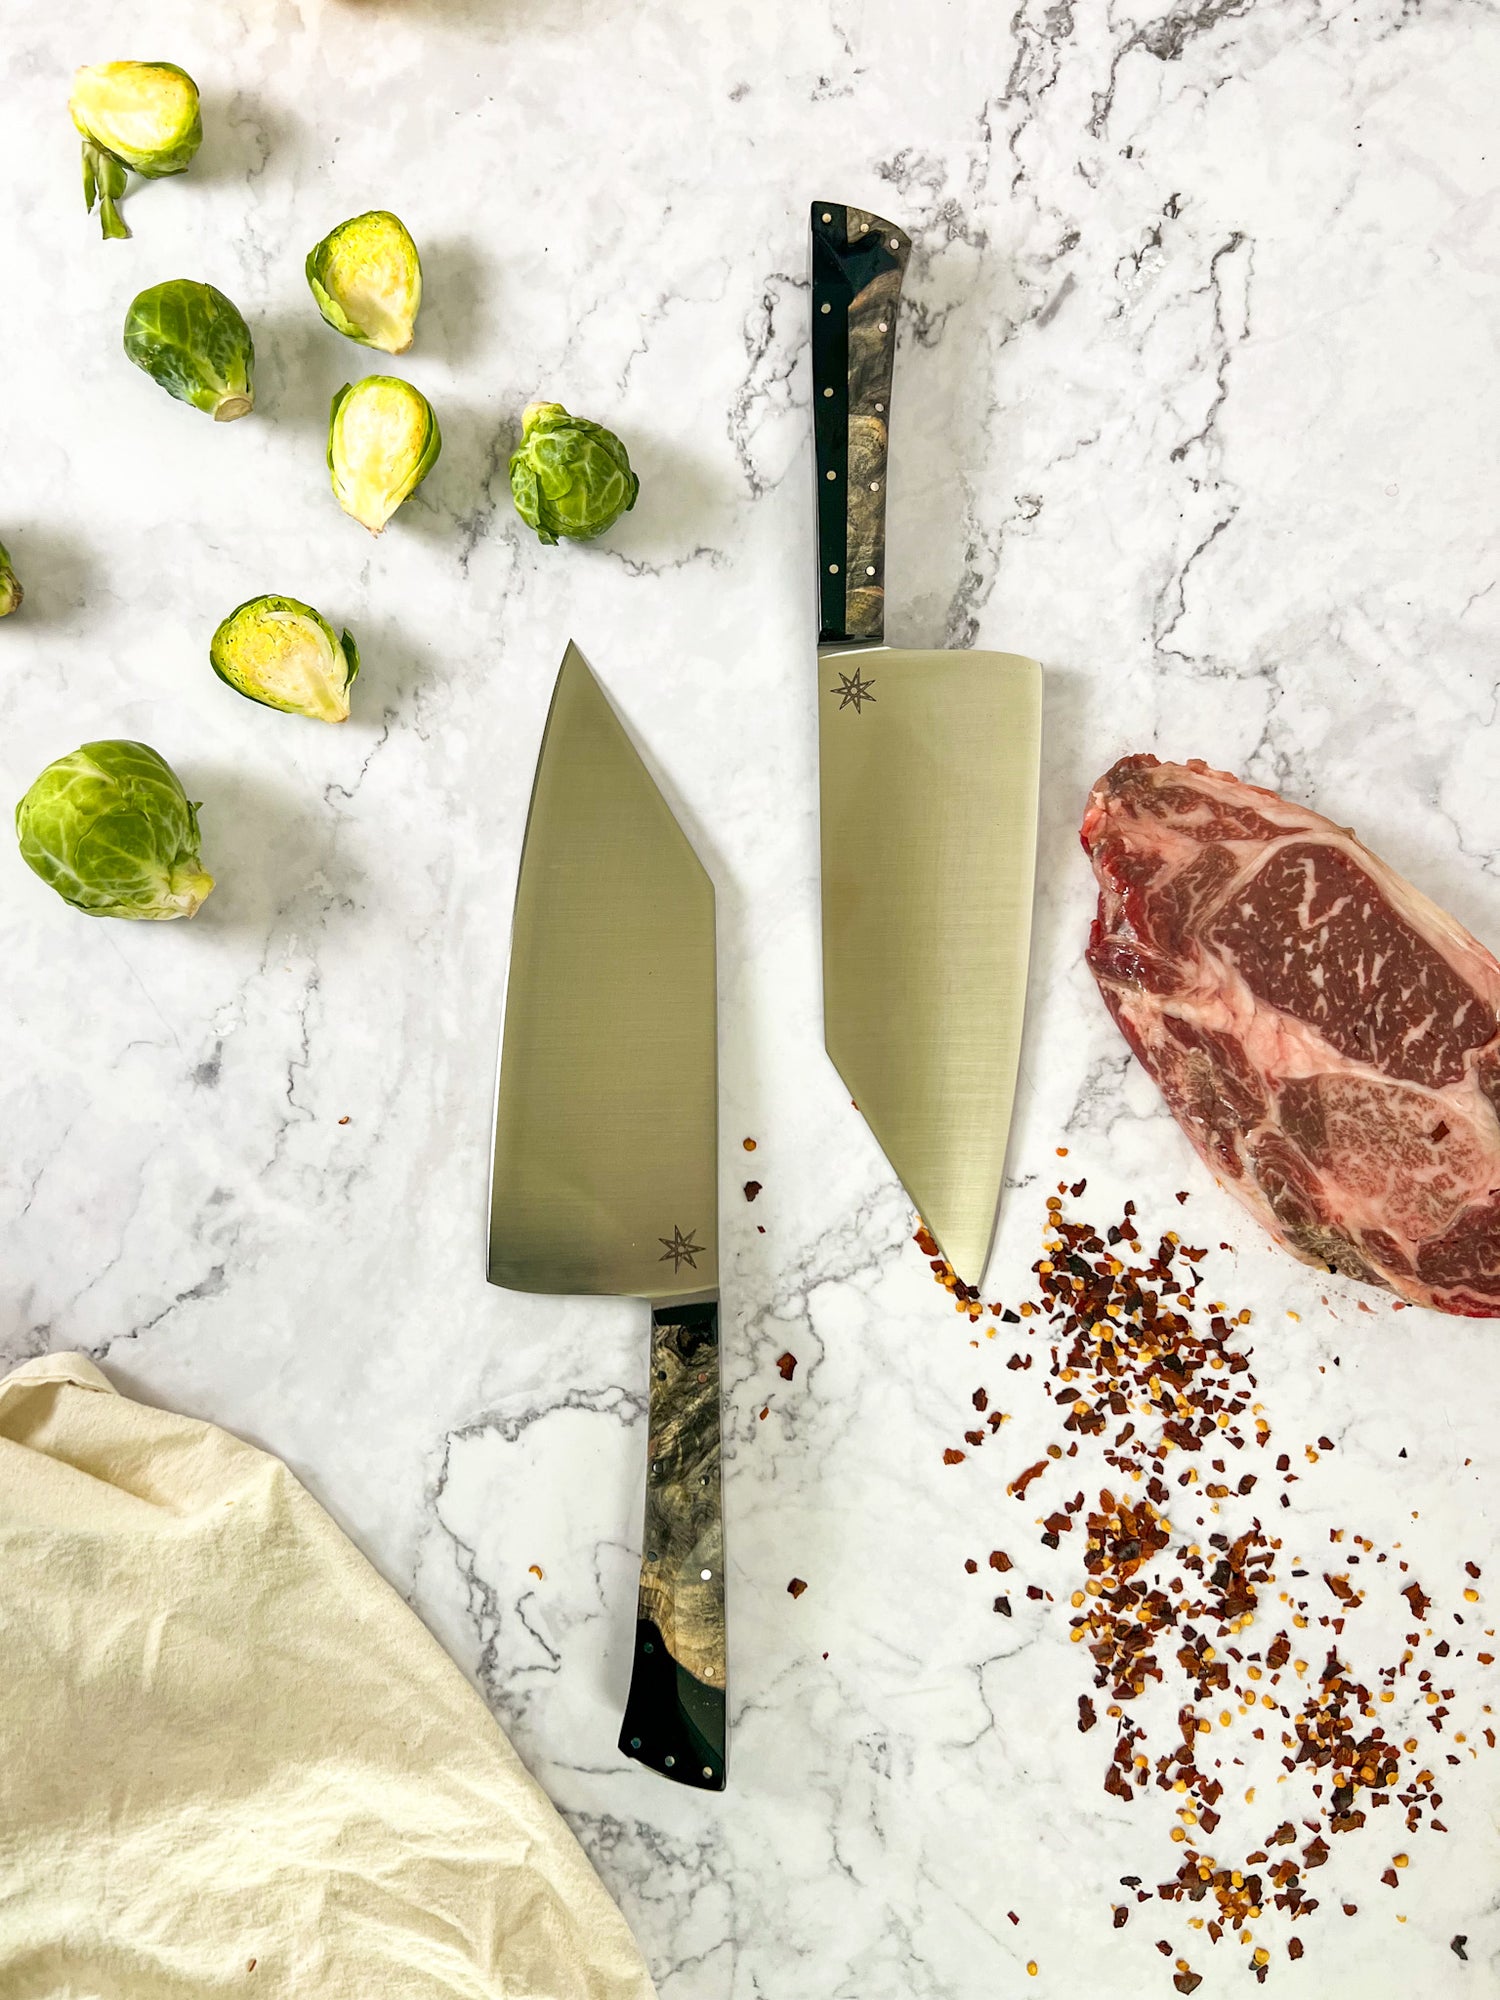
Heirloom Quality
Products that are designed with our children's children in mind. We are obsessed with pieces that have soul, beauty, and grit.
At Earthbound, they do indeed, make them like they used to.